
DIY Concrete Repair Is Easy With Fascrete, A Phoscrete Product!
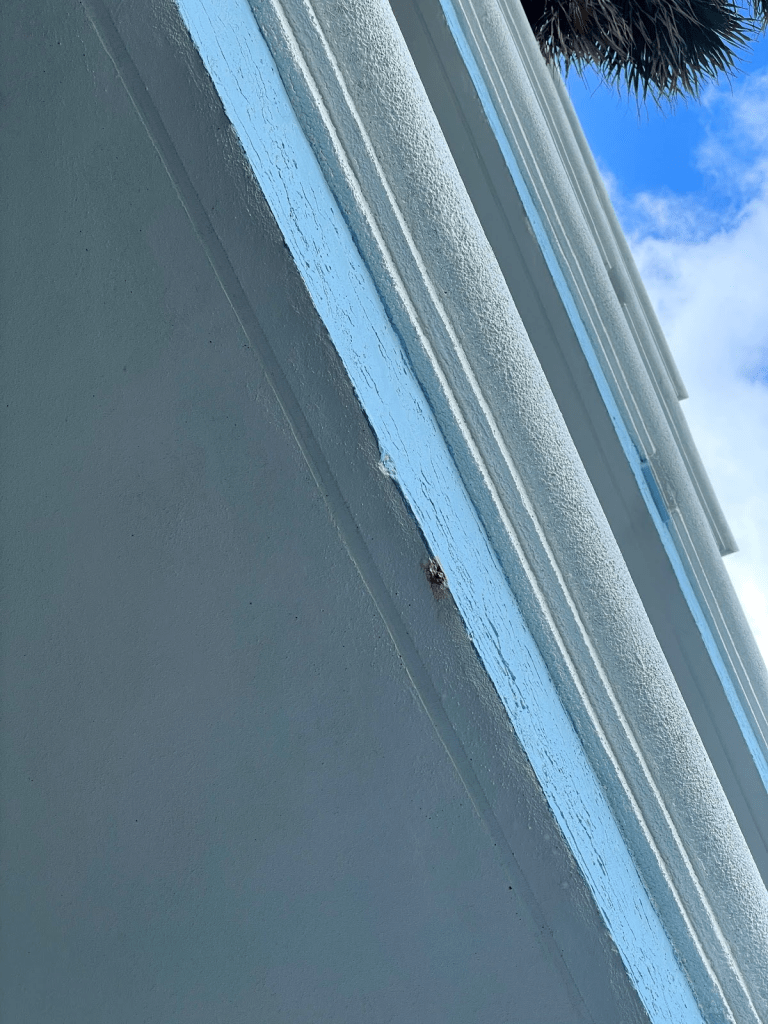
In 2005, a series of beautiful, Atlantic oceanfront condos were erected in Deerfield Beach, Florida. By 2019, less than 20 years later, rust spots began to show themselves through the newly painted buildings, mostly on the ocean-facing side.
Next door, a building erected in 1985 began a $2 million repair last year. The restoration company has spent more than a year on scaffolding removing damaged concrete from walls and all the balconies, treating the corroded rebar, and replacing the structural concrete. They are still working and waiting to repaint.
It is easy to imagine the 2005 condos suffering a similar fate 20 years down the road, or less. Then again, maybe not. Meet Fascrete, a Phoscrete product that is a rapid setting, corrosion-fighting concrete patch kit, shipped throughout the US, that allows you to perform DIY concrete repair jobs while they are small and manageable. With Fascrete, you can fix broken concrete before the damage gets out of control. Read on to find out how.
Preparing For Your Concrete Corrosion Repair Project
If you are a novice to DIY projects, you are probably still capable of handling a Fascrete repair. Let’s take a minute to understand how concrete gets damaged so that you know exactly what you’re up against. Sometimes concrete breaks from impact, like a damaged floor, stair, or window sill.
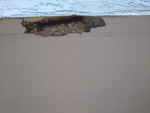
But most times concrete corrosion occurs from within; when chlorides from salt spray and oxygen soak into the concrete and attack the reinforced steel or rebar. Rust (iron oxide) forms on the rebar, and those steel rods grow and expand, adding pressure to the surrounding concrete causing the concrete to crack. Once the cracking starts, more chlorides and oxygen corrode even more rebar resulting in concrete spalling.
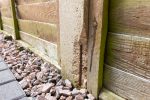
If you have rust spots forming on your concrete ceilings, walls, or floors, you need a way to stop the rust before the damage gets worse. Luckily, you can fix it with Fascrete. So let us get started on your repair project.
Getting Started: Gathering the Materials You Need for Your Repair Project
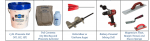
Before getting started, there are a few things you are going to need to complete your project. Most DIY enthusiasts will find most of these things around the house already. If you are a novice, do not worry. You will be able to buy all these items at your local hardware store. Here is what you are going to need to get started:
- Needle gun (powered by compressed air) or a chisel and hammer to remove the damaged concrete
- Wire brush to remove loose rust and dust from the surface
- Margin trowel for larger patches.
- Stucco sponge for feather finish
- Nitrile coated gloves for hand placing Fascrete.
- Pail of water for dampening your gloves, sponge, and cleanup.
- Fascrete Concrete Repair Patch Kit Tubs or Pails depending on the size of the repair
- Matching paint
To learn more about these tools read our quickstart guide to help you get started!
Repairing Damaged Concrete with Fascrete
Now that you have all the tools for a successful repair, you are ready to get started. So, let us jump right in!
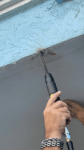
Step 1: Remove damaged concrete using the needle gun or the chisel and hammer.
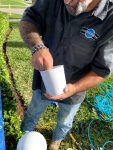
Step 2: Mix up a tub of Fascrete. Put on your gloves, open the tub, remove the instruction page, the jar of activator, the baggie of dry mix, and the mixing stick. Put on your gloves and empty the jar of activator into the tub. Add in all the dry mix powder and mix with the plastic stick for 60 seconds until all the dry mix is wetted out
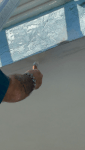
Step 3: Lightly Dampen your gloves with water. Scrub a small amount of Fascrete into the repair site covering the entire area with a thin coat. Next, fill the area with Fascrete using your gloved hands, the provided stick, and/or a margin trowel.
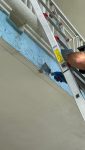
Step 4: Finish the Fascrete patch to the surface. Lightly dampen the stucco sponge and smooth the surface. You can match the stucco finish, or smooth to a feather finish.

Step 5: You did it! Now wait about 15 minutes (depending on the temperature) until the patch is hard so you can paint.
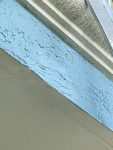
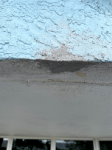
Note: on this project we patched two rust spots with Fascrete™ and left one rust spot untreated. The job was completed on February 12, 2021 and we will update this blog with inspection photos every 3 months to see how well the patches are holding and how the remaining rust spot is growing.
Contact Us
Now that you see how easy it is to repair concrete corrosion using Fascrete, the DIY concrete repair kit available throughout the US, there is no reason to wait another minute. Remember, once corrosion begins, damage increases rapidly– and so do repair costs. So, take control before the damage gets out of control. Get Fascrete on it today!